Quick Start#
An application in EDA can contain many things and do way more than just generating node configurations from the abstracted input. But, still, the most common thing you're going to want an app for is to generate some configuration for a target, and potentially publishing some state relating to that configuration and/or target.
In this quickstart we will create a simple app that configures the bottom toolbar on an SR Linux switch and walk you through the steps required to build the app from scratch, and deploy it to an EDA cluster.
Before you begin, make sure you have completed the setting the dev environment section.
-
Create a new project
We begin with initializing a new project in a directory of your choice.
To create a project, supply the application vendor1 and the project name as an argument to the
edabuilder initcommand:You find yourself in the
example-projectdirectory that we just initialized with some top-level project files and directories scaffolded out for you. -
Create a Python virtual environment
Create a Python virtual environment since EDA intent applications are written in Python.
If you have
uvinstalled like was suggested in the setting the dev environment section, you can just run:You are free to use any other means to create a venv.
-
Create an app
Next, create an EDA application by running the
edabuilder create appcommand from the scaffolded./example-projectdirectory:Let's call our application -
bottom-toolbar- since we will scaffold an app that provisions a bottom toolbar message on the network devices.-
Warning
If your application name is more than one word, the name must be in a kebab-case format.
An application in EDA is a group that contains one or several resources of the following types:
- application API expressed in a Kubernetes Custom Resource Definition (CRD)
- config and/or state intents that process the configuration and state changes of the resources
- operational workflows
- dashboards
This step should generate the
bottom_toolbardirectory where you will find the scaffolded layout of the application with no particular logic implemented yet. -
-
Populate the app with the demo app resources
At this stage, you would define your app's API, create the configuration and state intents, define alarm behavior, and create workflows and dashboards.
To keep the quick start simple, we prepared a script that downloads the exampleBottomToolbarresource and its configuration and state intents into your app directory.Paste this script into your terminal while in the project's directory:
set -euo pipefail

target="$(pwd)/bottom_toolbar"
tmp="$(mktemp -d)"
trap 'rm -rf "$tmp"' EXIT

commit="4584f841538310a71b318afd83762184e62c66c3"
archive_dir="$tmp/bottom-toolbar-app-$commit"

curl -fsSL "https://github.com/eda-labs/bottom-toolbar-app/archive/$commit.tar.gz" \
-o "$tmp/repo.tar.gz"

tar -xzf "$tmp/repo.tar.gz" -C "$tmp"

source="$archive_dir/bottom_toolbar"

rm -rf "$target/api" "$target/intents" "$target/manifest.yaml"
cp -a "$source/api" "$target/api"
cp -a "$source/intents" "$target/intents"
cp -a "$source/manifest.yaml" "$target/manifest.yaml"

manifest_tmp="$tmp/manifest.yaml"
sed 's/author: eda-labs/author: demo/' \
    "$target/manifest.yaml" > "$manifest_tmp"
mv "$manifest_tmp" "$target/manifest.yaml"

printf 'Downloaded files into %s\n' "$target"
The script downloads the
BottomToolbarresource API definition, the Python code behind it, and the manifest file into your app directory.- In this guide, a resource (or custom resource) is the declarative API object, while an intent is the Python code that processes changes to that resource.2.
- We cut some corners here, but you can find more in-depth examples in the development section of the documentation.
-
Deploy the app in development mode
During app development, you can quickly test your changes by deploying the app directly to the EDA cluster. The
edabuilderCLI provides a one-shot command:deploycommand requirementsThe
kubectlcommand must use a context that points to the EDA cluster for the operation to succeed.The
deploycommand will generate the necessary artifacts to package the app components in an OCI container image, push it to the container registry deployed for you in the EDA cluster and install the app. -
Try the app
After deploying the development version of the app directly to the EDA cluster, you can try it out by creating an instance of the
BottomToolbarresource through either the EDA UI or the Kubernetes API usingkubectl:In the EDA UI you will see a new resource group named Bottom Toolbars under the Management category:
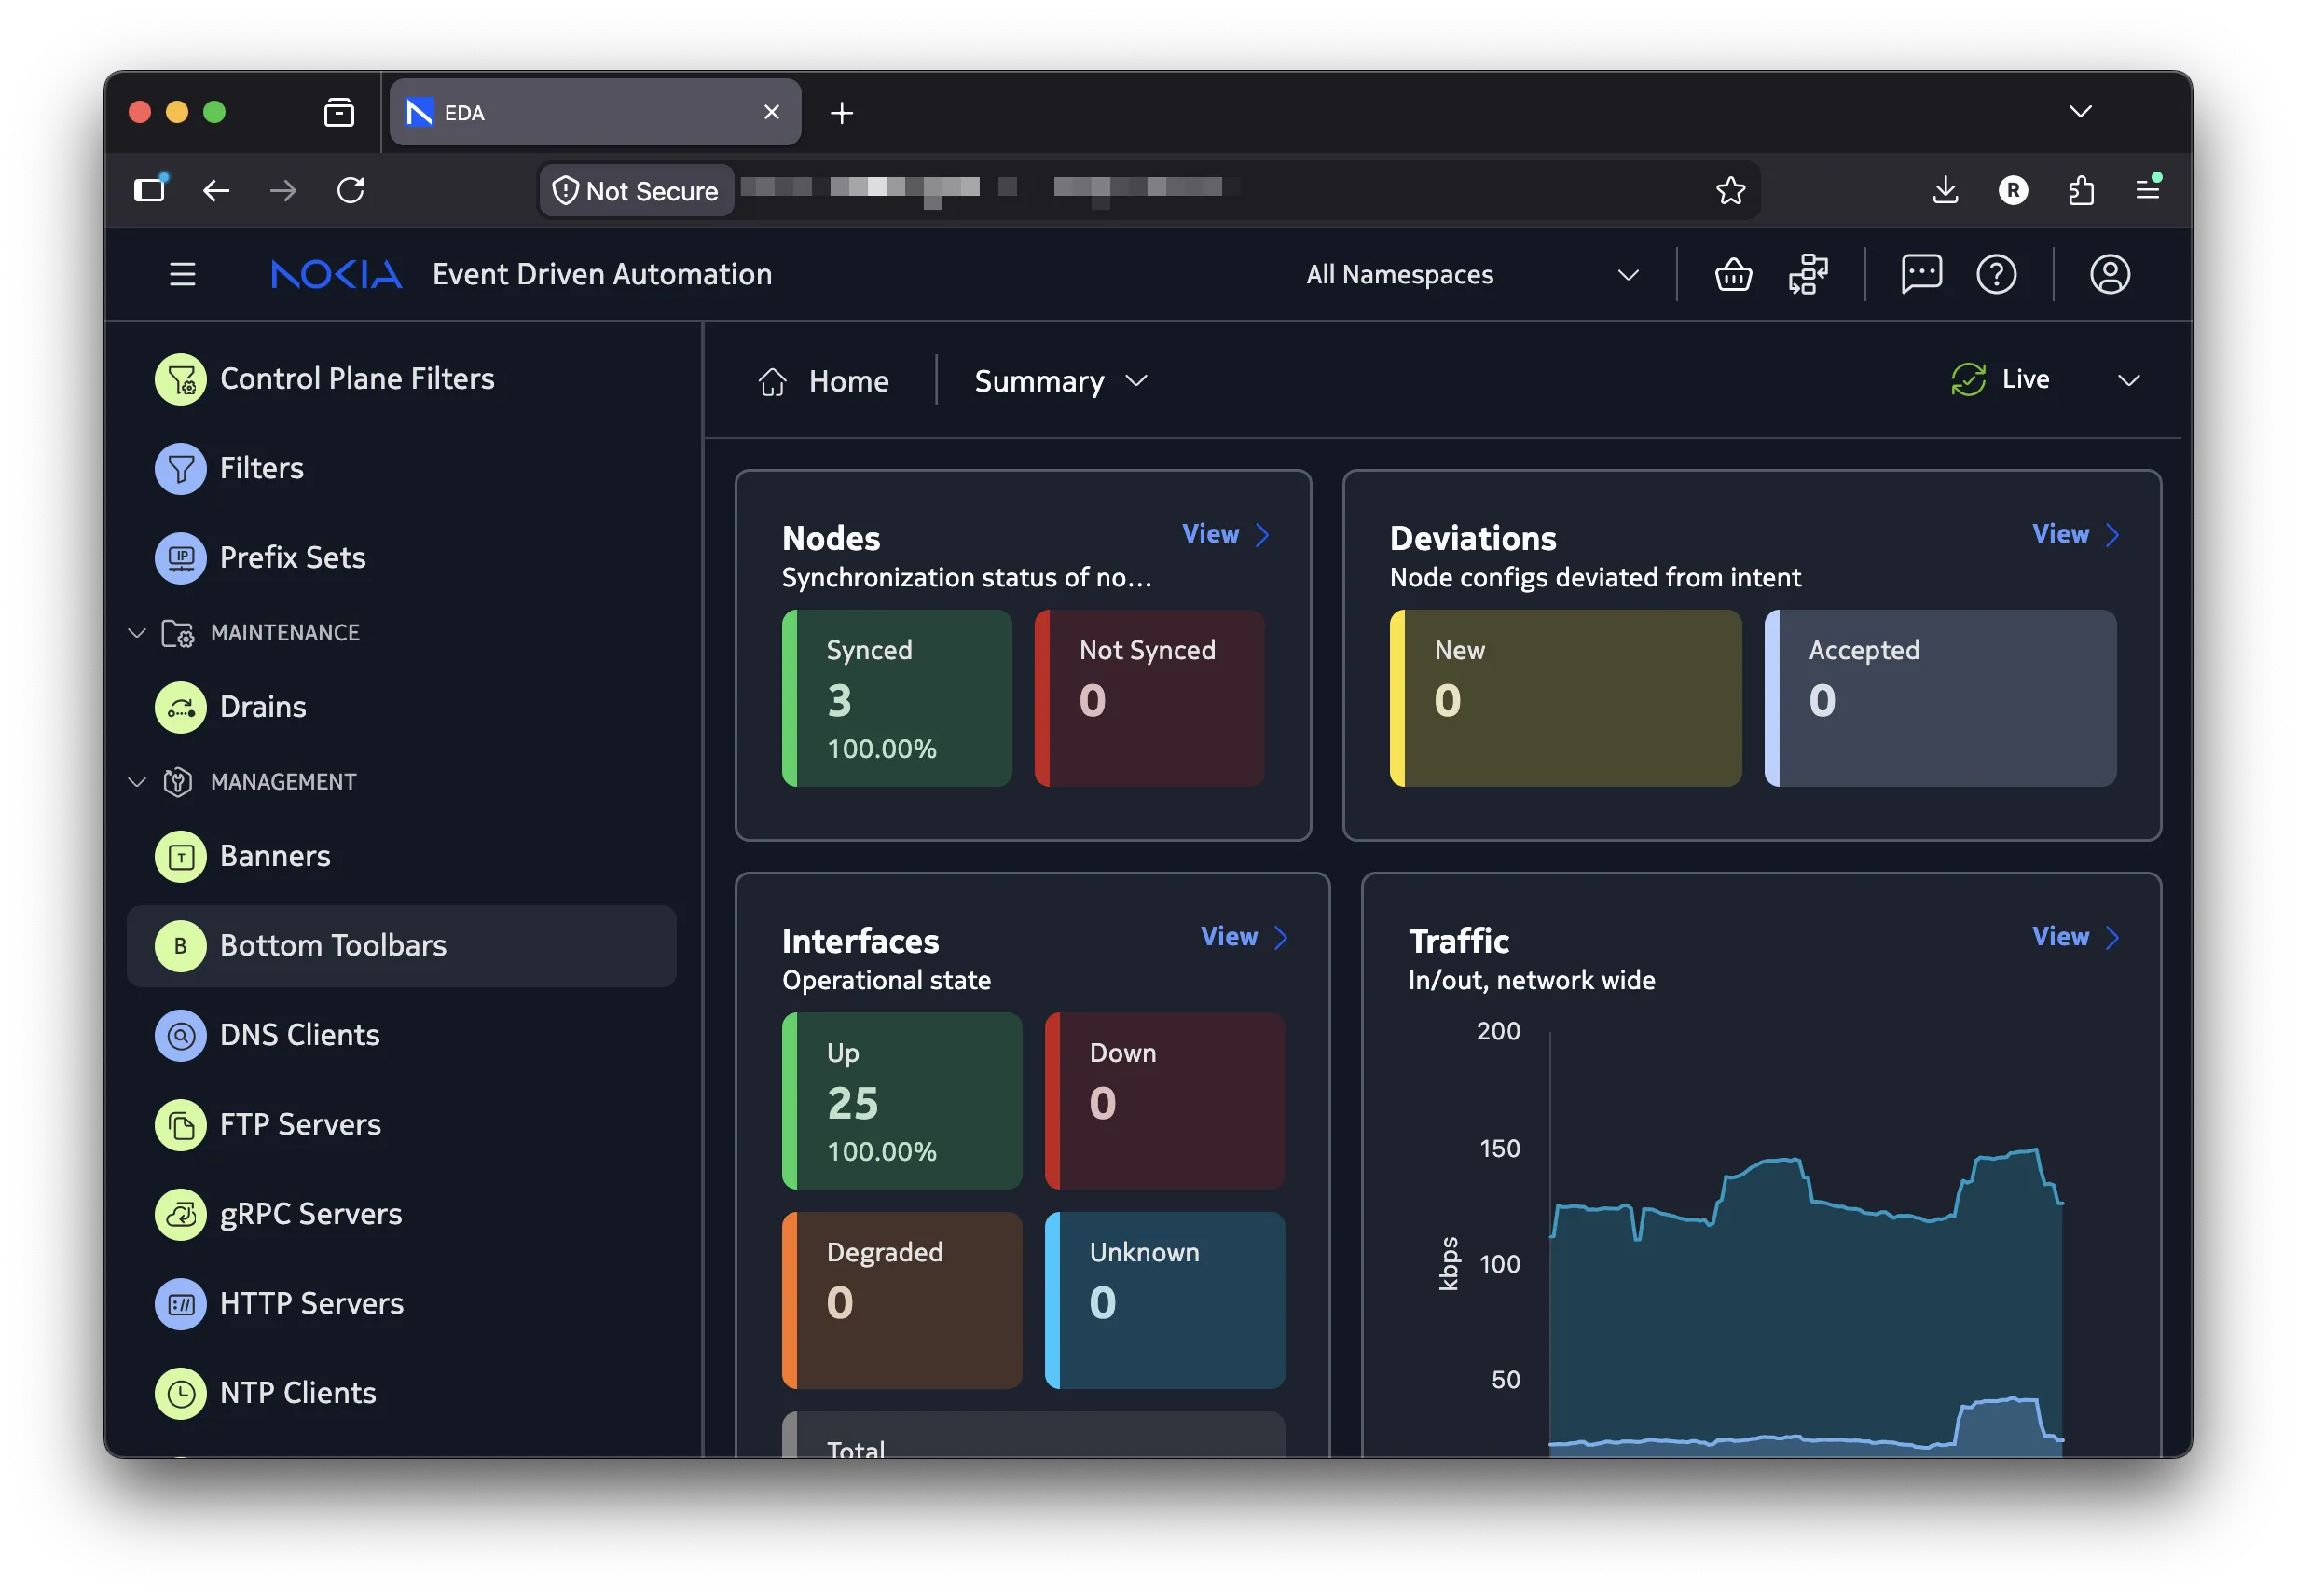
Bottom Toolbar in the EDA UI main menu Selecting the Bottom Toolbars menu will take you to the list of instances of the
Bottom Toolbarresource, where you can create a new instance of the resource and commit this transaction.Regardless of the interface you choose, you should see
this is a demo messagein the bottom toolbar when you log in to an SR Linux switch in your fabric.
What just happened?#
Quite a lot! Here's a breakdown of what you just did:
- You initialized a new project.
- You created a new app -
bottom_toolbar. - You downloaded the example code for the
BottomToolbarresource into your app directory. - You deployed your app in the development mode to your EDA cluster.
- You created an instance of your new resource via Kubernetes API or EDA UI.
- And observed the results of your app in action by logging into the SR Linux CLI and seeing a new bottom toolbar message in effect.
Where to from here?#
First, get to know the project layout and the role of each directory and files they contain in the Project Layout section.
Next, dive into the application components to learn what makes up an EDA app in the Components section.
After that, you are ready to learn how one of the basic native applications works using the Banner resource. How it selects the nodes, generates the config snippets, creates resources in EDA cluster and so on. This is covered in the Basic app walkthrough section.
-
A vendor is the publishing authority of your app. It can be an arbitrary string, but typically it matches your company name, personal name or a community group name. Nokia-provided applications use the
nokiavendor. ↩ -
The actual runtime used in EDA to run those scripts is MicroPython, but we will cover this in a later section. ↩